Wednesday, February 24, 2016

Restriction Enzymes and Electrophoresis

Introduction
When talking about restriction enzymes, it is necessary to first talk about viruses. Viruses are small packets of protein and DNA that are not actually classified as lifeforms for a few reasons. Most prominent of which, viruses cannot reproduce. In order to keep the species alive and pass on genetic material to offspring, viruses infect other cells, either prokaryotic or eukaryotic, and insert their DNA into the DNA of that cell. Then the cell is forced to produce large amounts of the viral proteins and create many copies of the original virus inside of the cell until its usefulness runs out and the cell is killed by the viral DNA, allowing the new viruses produced to spread and infect others.

As a defense mechanism against viral attacks, many bacteria and eukaryotes have developed what are called restriction enzymes, or proteins that cut DNA. Therefore, when a virus inserts its DNA into a new host, that host's restriction enzymes would cut the DNA into fragments, not allowing the cell to become infected. The restriction enzymes only work at sites on the viral DNA called palindromes, or places where the base pairs are the same in one direction as they are in the opposite direction on the corresponding strand.

Restriction enzymes have become an important part of gene splicing by making it possible for scientists to connect two sets of genes of different organisms or replace harmful genes that a person has with healthy genes. Also, through a process called gel electrophoresis, in which DNA fragments are run through gel by a current, similarities or heredity can be found between people, being an important tool for paternity testing among other things.

During the week of February 8th, the lab group of Shreyan,  Mark, Vinay and Vikram returned to the lab to perform DNA cutting using restriction enzymes and also gel electrophoresis. Through this process, the group should be able to determine the size of the DNA fragments cut by the enzymes. The group was tasked with using lambda virus DNA, which is about 50,000 base pairs long.

Procedure
On the first day of the week, we gathered our materials together and then set to work. We had 3 microtubes of different restriction enzymes which were called; PstI, EcoRI, and HindIII. We also had a microtube full of uncut lambda DNA strands. For our four experiment microtubes, one we filled with Lambda DNA and a restriction buffer, and the other were filled with Lambda DNA, restriction buffer, and one of the enzymes listed above. The tubes were labeled P, E, H, and L, and below is a table of their contents.

Tube
Lambda DNA
Restriction Buffer
PstI
EcoRI
HindIII
P
4 µl
5 µl
1 µl
0 µl
0 µl
E
4 µl
5 µl
0 µl
1 µl
0 µl
H
4 µl
5 µl
0 µl
0 µl
1 µl
L
4 µl
6 µl
0 µl
0 µl
0 µl

After this we spun the tubes in a centrifuge to mix the contents completely. Having mixed the contents of each tube, the group left the tubes overnight so that the restriction enzymes could do their work.

On the second day, I was unfortunately absent due to illness, but Vinay, Shreyan and Vikram continued the experiment without me. The second day was the gel electrophroesis day. The group obtained marker DNA from our teacher, and the function of the marker DNA is to be completely split up by the enzymes we were using in order for us to estimate the length of the strands of DNA used in our experiment. The marker DNA, as well as the other DNA and restriction enzyme samples that we had, were loaded into agarose gel, pictured below. The agarose gel that was used was actually clear, but the picture below is of the gel after it has been stained so that we could see the distance traveled by the DNA fragments.


When we are ready to begin the electrophoresis, a current will be run through the gel, and because it is a negatively charged acid, the DNA will flow towards the positive electrode. However, the gel acts as a viscous buffer to the DNA, so not all of the DNA will flow to the positive electrode quickly. Instead, smaller fragments of DNA pass through the gel easier and will travel further towards the positive electrode than larger fragments of DNA.

The agarose gel, with the DNA fragments loaded up inside of it, was then put into the electrode apparatus, pictured below, and a current was run through the gel for about 20 minutes.


After the gel was removed from the electrophoresis apparatus, the gel was dunked in fast acting blue dye overnight so that the DNA bands were visible. The process by which the gel was stained is shown below.


On the third day, results were gathered and the lab group measured the lengths that the DNA traveled down the gel from the DNA wells that all of the fragments started in. This is shown below.


Data/Observations
Unfortunately, because I was absent for all but the first day of the lab, I was not able to gather data with my lab group. But, after explaining what the data meant, and also a discussion with my teacher Mr. Wong, I was able to understand the data set that resulted from the experiment.

Using the data gathered in this experiment, the group was tasked with estimating the length of the DNA strands cut by each individual restriction enzyme. To do this we had to compare the bands that we saw in our agarose gel to lengths traveled by fragments that were in the marker group. These strands were known to have a certain base pair lengths, so we could estimate the lengths of our DNA fragments through comparison and a little bit of educated guesswork. Unfortunately, our groups's marker DNA lane was not recorded correctly or simply did not perform as it was meant to, so the DNA lengths were borrowed from our classmates.

Here is a table of the distances traveled by each lane, including the marker DNA lengths obtained from our peers:


M (Marker DNA)
L (Uncut DNA)
P (PstI)
E (EcoRI)
H (HindIII)
Bands
Distance in mm
Actual base pairs
Distance in mm
Estimated Base Pairs
Distance in mm
Estimated Base Pairs
Distance in mm
Estimated Base Pairs
Distance in mm
Estimated Base Pairs
1
14
23,130
10.2
50,000
15.2
20,000
15.2
23,000
15.2
21,000
2
16
9,416


19.1
6,000
19.1
6,000
17.8
7,000
3
18
6,557


20.3
4,000


4
22
4,361


5
27
2,332


6
Not visible
2,027


Using simple guesswork and estimation, the group assigned values of base pair lengths to the DNA fragments that were cut using restriction enzymes. But is there a better way to estimate fragment lengths? A second way that the group estimated the lengths was using what is called a semilog graph. Using the info from the marker DNA group, we created a graph relating distance traveled to base pair length of the DNA strands by plotting the points of the marker strand and creating a line of best fit. This graph is shown below. Then, by using the graph, the group was able to estimate lengths of the DNA fragments somewhat easier.


Using this graph, we estimated the base pair length of each DNA fragment, shown below.


M (Marker DNA)
L (Uncut DNA)
P (PstI)
E (EcoRI)
H (HindIII)
Bands
Distance in mm
Actual base pairs
Distance in mm
Estimated Base Pairs
Distance in mm
Estimated Base Pairs
Distance in mm
Estimated Base Pairs
Distance in mm
Estimated Base Pairs
1
15.2
23,130
10.2
55,000
15.2
18,000
15.2
18,000
15.2
18,000
2
17.8
9,416


19.1
8,000
19.1
8,000
17.8
10,000
3
19
6,557


20.3
6,000


4
22
4,361


5
27
2,332


6
Not visible
2,027


As you can see, some of the values are extremely different in the new table of estimations.

Conclusion
I believe that the experiment can be considered a success. Though our marker DNA did not turn out as planned, we were still able to create our semilog graph and also get some good estimations of the length of our other DNA fragments. I am not completely sure whether or not any of our results are correct and that is the actual length of each fragment, but I am willing to bet we got somewhat close to the right answer. I know that our estimations for the uncut lambda DNA, about 50,000 base pairs is correct, and I think the cuts made by PstI and EcoRI were valid too. I am not sure whether or not the cuts made by HindIII, or at least the data we recorded from it, were valid. I think I remember reading somewhere that the lambda DNA is cut in many places by HindIII, but it was only cut into two fragments in our experiment.

I believe the only error made during this experiment was in collecting data from the agarose gel. I know that the data we gathered regarding the marker DNA was wildly incorrect, so much so that had to use another group's data to get the correct graph. I am also skeptical about the results gained from the HindIII cuts, as mentioned above. I think that when looking at the agarose gel, it is necessary to shine light from the bottom up through the gell so the dyed lines of DNA are extremely clear and can be recorded easily. I also think that when graphing the semilog graph, it would have been easier to graph on paper rather than the iPad so that we may use a rule and get better, more accurate results.

Thursday, February 11, 2016

pGLO Transformation Experiment


Introduction
During the week of February 1st, Shreyan, Vikram, Vinay and I returned to the lab to perform an experiment involving transformation and protein production. Transformation is the process by which organisms take up new DNA, in this case in the form of plasmids, that change a trait or cause the production of new proteins. Plasmids are a form of DNA that are taken up by bacteria and then used to produce proteins in the cell. This is a useful biological process because it can help the bacteria to produce new proteins and integrate new genetic diversity into a population.


Genetic transformation is an extremely useful process for science, being used by pharmaceutical companies to produce large quantities of antibiotics or drugs, by agricultural companies to introduce new beneficial traits to organisms to help them grow, and even by doctors to cure sick people. For our experiment, the group is tasked with transforming a harmless strain of E. coli bacteria with a plasmid DNA that we are given called pGLO. The DNA contains genes for Green Fluorescent Protein (GFP), obtained from jellyfish, as well as a gene for resistance to the antibiotic ampicillin. We are hoping that the introduction of this plasmid will cause the bacteria to produce GFP as well as be resistant to ampicillin so that we can isolate the bacteria that have taken up the plasmid. Below is a diagram for the pGLO plasmid.


GFP, as the name implies, is a fluorescent protein produced by jellyfish to glow. However, the pGLO plasmid has been specially engineered to use a gene regulation system that controls the expression of GFP in cells with the plasmid. The gene that codes for GFP can be activated in the cell, but only when the cell is in the prescence of the sugar arabinose. Therefore, the cells will be ampicillin resistant, so will grow on agar plates with ampicillin, but will not glow unless activated by a plate with arabinose.

Knowing all of this from our discussions in class and reading, the lab group got to work.

Materials

  • E. Coli Starter Plate
  • Poured Agar Plates
    • 1 with only nutrient broth
    • 2 with nutrient broth and ampicillin
    • 1 with nutrient broth, ampicillin and arabinose
  • Transformation Solution
  • Nutrient Broth
  • Inoculation Loops
  • Pipets
  • Foam Microtube Holder
  • Foam Cup Full of Ice
  • 42 degree Celsius Water Bath
  • 37 degree Incubator
Procedure
The first thing that the entire lab group did was put on safety equipment such as goggles and aprons so that we do not accidentally hurt ourselves with the E. coli we were experimenting with (Note: this step may or may not have been forgotten). Next, we labeled our microtubes, one as +pGLO and the other as -pGLO. Using a pipet, we then transferred 250 micoliters of transformation solution into each tube. Placing the tubes in our foam cup of ice, Shreyan and I used the inoculation loops to grab a single colony of bacteria from the starter plate and place it into each microtube, swirling the solution to make sure all bacteria were taken off the loops. 

Using a micropipet, the lab group removed 10 microliters of pGLO DNA and put it into the microtube labeled +pGLO. We made sure not to ass the plasmid DNA to the other microtube because it would ruin our experiment. Following this, the group iced the microtubes for 10 minutes.

While the tubes were icing, we labeled the 4 agar plates that we had, one as -pGLO LB (no plasmid, only nutrient broth), one -pGLO LB/amp (no plasmid, nutrient broth and ampicillin), one +pGLO LB/amp (plasmid with nutrient broth and ampicillin), and one +pGLO LB/amp/ara (plasmid, nutrient broth, ampicillin, and arabinose). 

After 10 minutes of icing, we took the microtubes out of the ice and put them into the 42 degree hot water bath for 50 seconds. This helps us perform what is called a heat shock. To get the bacteria to take up the new plasmid DNA, the bacteria is iced and shrunk, then the heat of the heat bath causes it to rapidly expand, sucking up fluid from the transformation solution that also just happens to contain new DNA for the bacteria. Thus, after the heat shock, the plasmids are inside the cells.

To keep the plasmids inside the cell and stop the cells from exchanging fluid with the surrounding solution, we put the microtubes back on ice to shrink the cells back down again. We iced the cells for 2 minutes, and then added 250 microliters of nutrient broth to the microtube solutions to help the bacteria survive. We then flicked the containers to mix the solution. 

Using a new pipet for each time, the lab group put some of the microtube solution on each plate. 100 microliters of the +pGLO solution was added to the plates marked +pGLO, and then 100 microliters of the -pGLO solution was added to the plates marked -pGLO. The group then used inoculation loops, a new one for each plate, to spread the solution around the agar and allow the bacteria to access the nutrients in the agar. 


Once this was finished, the group stacked our plates up, taped them together, and placed them all in the 37 degree incubator for a day so that the bacteria colonies could grow. Then the next day we checked our plates to see if our transformation was successful. 

Data/Observations
When we checked our agar plates, the lab group discovered that our experiment was not as successful as we had hoped. 

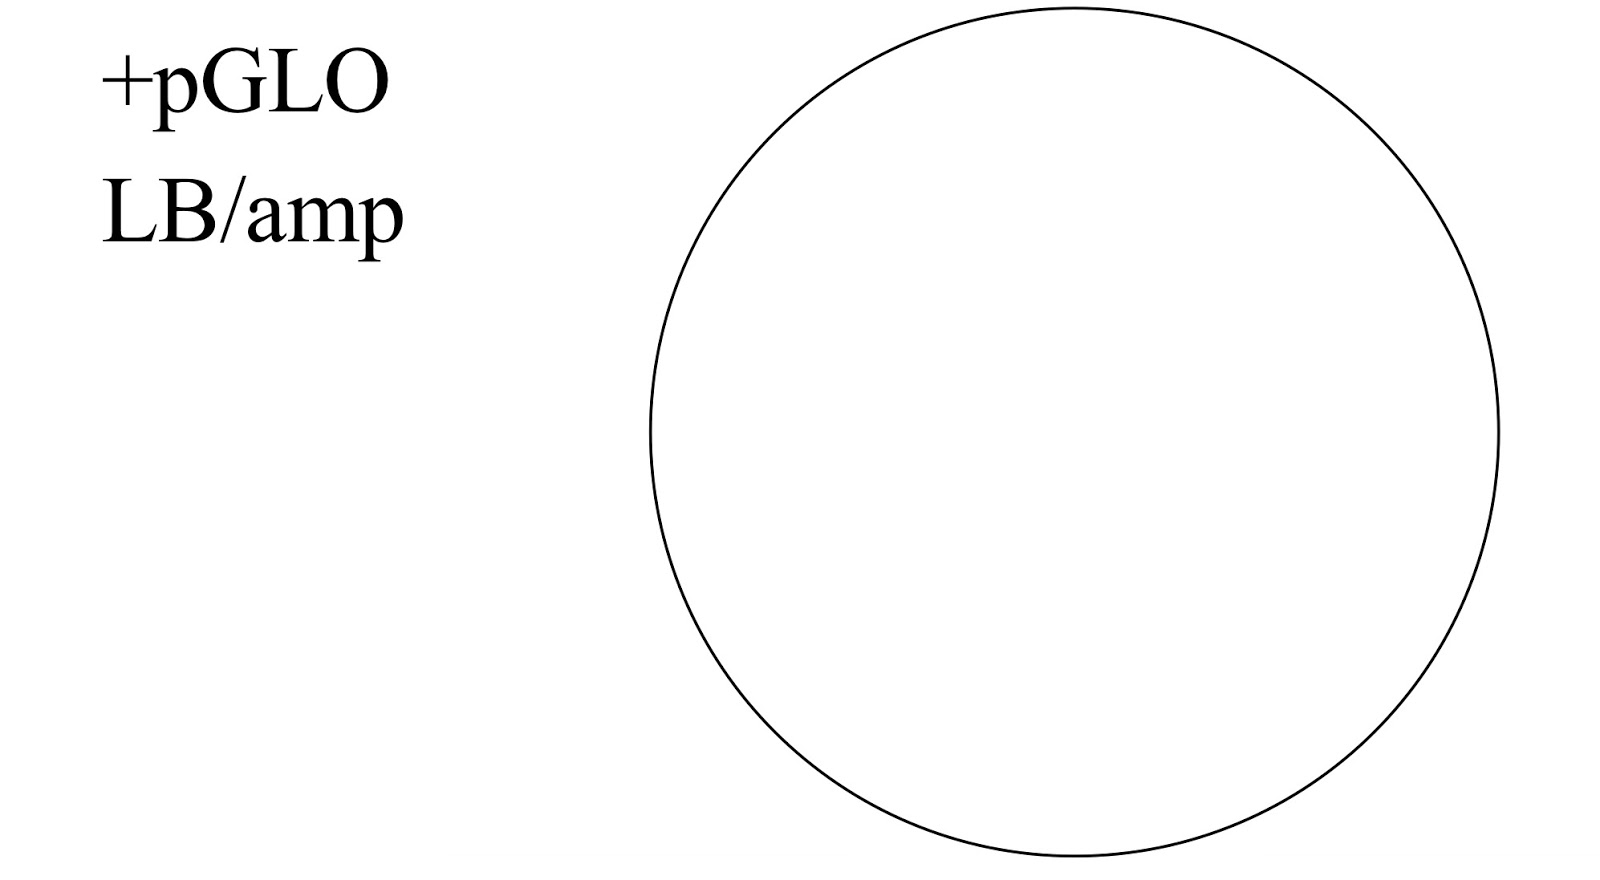
For our control plates, the results were as we had predicted. Unfortunately, no one in the group took pictures of our experiment or our agar plates, so I will use diagrams filled out in class to show the growth on each of the plates.


On the -pGLO LB plate, there was carpet growth of bacteria because the bacteria's growth was not impeded, as seen in the diagram above.


On the -pGLO LB/amp plate, there was no growth of bacteria, presumably because all of the bacteria were killed by the ampicillin. This is shown on the diagram above.


On the transformation plates, our results were extremely disappointing. For the +pGLO LB/amp plate, there was no growth at all. This can be seen in the diagram above.


On the +pGLO LB/amp/ara plate, there was little growth. Only one colony of bacteria grew on this plate, and when placed under UV light, this colony glowed. The growth on this plate can be seen in the diagram above.

In comparison to other groups' bacterial growth on their plates, our group's plates had extremely low growth. For example, here is a photo of the agar plates from Joe Ballard's group, shown under a UV light so we can see the group's GFP protein in the bacteria glow.


As you can see, there is considerable growth on the bottom plate, which contains nutrient broth, ampicillin and arabinose as seen by the glowing protein.

Conclusion
In conclusion, though our transformation was not completely successful, I believe that our experiment was a success. We were in fact able to transform bacteria, even tho in this case we only transformed a single bacterium. Whereas some people may call that unlucky, the lab group calls it lucky that we were able to only get a single bacterium to transform. In fact, one could argue that our group was more precise with our transforming, seeing as we were able to precisely change the DNA of one bacterium. 

Using our knowledge of mathematics and different values from the experiment, the group was able to calculate the transformation efficiency of our experiment. Using the number of cells growing on the agar plate divided by the amount of DNA spread on that plate, we determined that our group's transformation efficiency was 6.373 transformants/microgram of DNA used. When the entire class collected data of their own transformation efficencies, we found out that our efficiency is not a good efficiency. The other groups got inefficiencies of anywhere from 700 transformants/microgram to 10,000 transformants/microgram! 

Even though the group did the procedure exactly as it is listed in the manual, I think there are a few likely possibilities of where we went wrong. I think when rubbing the bacteria onto the agar plates, perhaps the group was too gentle and did not press down hard enough because we did not want to split the agar. Another time that we could have gone wrong is when we transferred the microtubes from the hot water bath back into the ice cup. Perhaps our tubes were not immersed in the ice far enough and therefore the bacteria did not shrink in time to keep the plasmids inside. Both of these errors are due to experimenter mishaps, which is very disappointing considering how hard we worked on transforming the bacteria. Moving forward, I believe that if had another shot at transformations and didn't make any mistakes as we had for this experiment, we could have an extremely high transformation efficiency. 

Tuesday, January 26, 2016

DNA Replication: The Movie Report

Here is a link to the DNA Replication video that the group made:

https://www.youtube.com/watch?v=4fhPwZePSOU

Though we had read through the DNA Replication chapter in our textbook and even sat through multiple lectures with Mr. Wong about DNA Replication in both Eukaryotes and Prokaryotes, each member of the group learned more about DNA Replication through producing this video.

I think the most difficult concept to grasp from DNA Replication was the concept of the lagging strand. When I first came to class, I knew that DNA on the lagging strand was completed in fragments, but it didn't really understand why and how DNA Polymerase did this. Being forced to model the motion of the protein and track its path delivering and connecting nucleotides to the new strand of DNA after finding an RNA primer, I realized the how the protein's one way system of elongation worked. Because the strands are antiparallel and DNA Polymerase only works from the 5' to the 3' direction, the lagging strand must be broken into fragments to keep up with the splitting of the replication fork by helicase.

Furthermore, I had always wondered why the DNA strand couldn't just be split into two large molecules, the absolute 5' end of each molecule is primed, and then replication occurs, but only in one direction. Then, when I started putting together the fake DNA strands for the video and had to keep track of all the nucleotides and make sure the strand didn't double over or kink, I realized how impossible that split would be floating around in a cell's nucleus. The best way to counteract the kinking and twisting of the molecule would be to keep it together until the last possible moment, then split it and replicate the DNA. This is how cells do it, using replication bubbles instead of breaking up the entire strand of DNA.

I think my group made plenty of mistakes when creating our video, such as not using RNA and DNA Polymerase I to show how RNA primers on the new DNA molecule are removed, but I think that through this process, the entire group now has a mental representation of what DNA Replication must look like and has a concrete experience moving the proteins around. This will help us immensely when thinking critically about DNA problems, and being able to model the process in our minds will far outweigh other students' ability to memorize names and processes.

Friday, January 8, 2016

Your Inner Fish Blog Entry

I was fascinated by the entire Inner Fish program because discovering the links between our distant ancestor species and uncovering more about the human evolutionary history is extremely interesting and gives us a greater understanding of where we came from and why our bodies are shaped the way they are. I think at the beginning of the program I expected an organism like Tiktaalik to be the transitional animal between fish and amphibians: one with strong and flat arms used to kind of shuffle around on land, possessing both gills and lungs, scaled, possessing fins and a fishlike tail, and one that spends most of its time in the water but can also go for periods above water exploring land. I think Tiktaalik is a lot like some modern fish, pikes I believe, that are actually able to do the same thing and climb onto shore and walk around land for a short time. These fish possess both lungs and gills, but their lungs have a very small capacity so therefore they must return to their native water to survive. Though I will never see if this is true or not because evolution takes so long, I think that these types of pike fish could possibly open up another branch of animal evolution.

I think that a transitional animal between reptiles and mammals would look a lot like a crocodile or a lizard with fur. I think that the animal would be partially scaly, but large portions of its body would be covered in fur as most mammals are. The animal would walk on four legs and have short, stubby legs that it must swing from side to side to move forward. Also it would probably be a land based creature, because most mammals do live on land and not in the ocean like dolphins and whales. I believe that the transitional animal would have hardshell eggs, but incubate them internally and then give birth to live young because this is a combination between reptile and mammalian forms of birth. This creature would also produce milk as all mammals do to feed their young. As for the features of the animal, I think it doesn't have a fully articulated neck, but more like a neck that only looks up and down like a crocodile, and have binocular eyes like most mammals, not eyes on each side of its head as some reptiles like the chameleon has. Finally, the animal would have been warm blooded, which is necessary for the internal incubation of eggs as mentioned above. If the animal was cold blooded, the dramatic shifts in temperature could hurt the offspring. Below is a picture of what I think the transitional animal between reptiles and mammals looked like.


The brown areas of the animal represent the fur-covered areas, while the green parts are covered in scales. The animal is very squat and short, and probably moves around in a shuffling run.